Features
Everything Trig shows you.
Trig has three tabs. Field is the camera, Map is for exploring, and Settings holds the rest. Here is what each one does, and which parts come with Trig Pro.
FieldFree
Point, pause, read the names.
The Field tab opens the camera and names the peaks the terrain says you can see. It identifies the mountains around you in real time, from wherever you stand: a trail on a hike, a viewpoint, a window or a summit. Names lean up and to the right over thin leader lines, so a crowded ridge stays readable.
- Before the camera opens, Field previews the peaks nearby and lists the ones it has confirmed visible.
- Trig matches the skyline to the terrain on its own. If a label still sits beside its peak, align it by hand and it stays locked.
- At a window, on a tower or at a lookout, set Camera height from 0 to 300 m so visibility is worked out from the right place.
- When something is missing, Field says exactly what it is waiting for: precise location, a better GPS fix, terrain or camera access.
Terrain linesFree
Draw the land over the camera.
Terrain lines trace the land over the live camera: the mountain outline on the skyline, the ridges behind it, and contour lines if you want them. They are worked out from elevation data, not from the picture, so they also show how well Trig has lined up. Choose how much detail you want with the terrain button in Field.
-
Off
Only the peak labels. The cleanest view for photos.
-
Detailed skyline
One line where the land meets the sky. The default, and the quickest way to check alignment.
-
Skyline and ridges
Every ridge you can actually see, layered from near to far. Where a nearer ridge hides one behind it, that stretch is left out.
-
Full detail: ridges + contours
Adds elevation contours within 20 km. They start every 25 m and spread out on complex ground, and the legend shows the current spacing.
Buildings and trees are not masked, and the detail depends on the terrain data where you stand.
Illustration · from Bjelašnica towards Treskavica, with Maglić behind
Peak detailsFree
Everything about one summit.
Tap any label for the peak’s card: its height, and its distance and bearing from you. From there, open it on the map, share it, or step onto it in summit view.
MapFree
Every peak, in 3D.
The Map tab shows the peaks around you on a 3D terrain map, in Satellite or Topographic style. Search any summit by name, and peaks load for whatever area you are looking at.
- Satellite, the default, or Topographic style
- 3D terrain you can tilt and turn
- Search peaks by name
- Flyover slowly circles the camera around the peak you pick
- Share any peak from its card
Summit viewPro
Three ways to read one view.
Summit view builds a 3D panorama of the real terrain from where you stand, or from any peak you open in Field. Switch between three styles with the palette button.
-
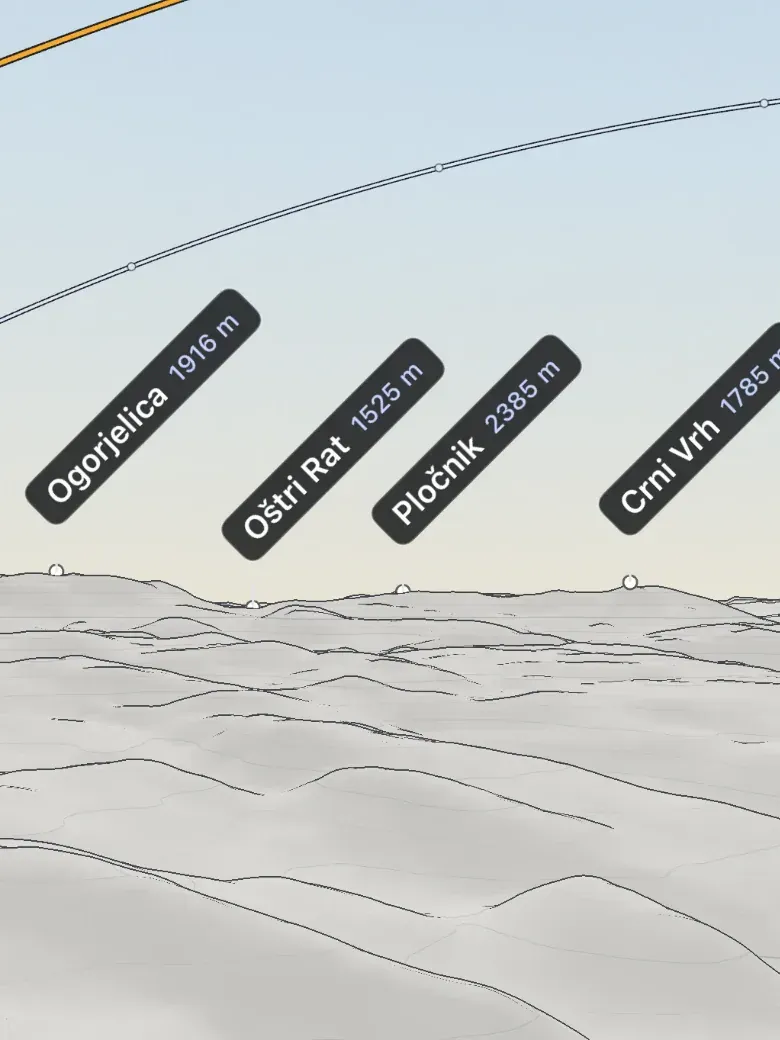
Print contours
The default. White paper with ink ridgelines and contour lines, like an engraved map.
-
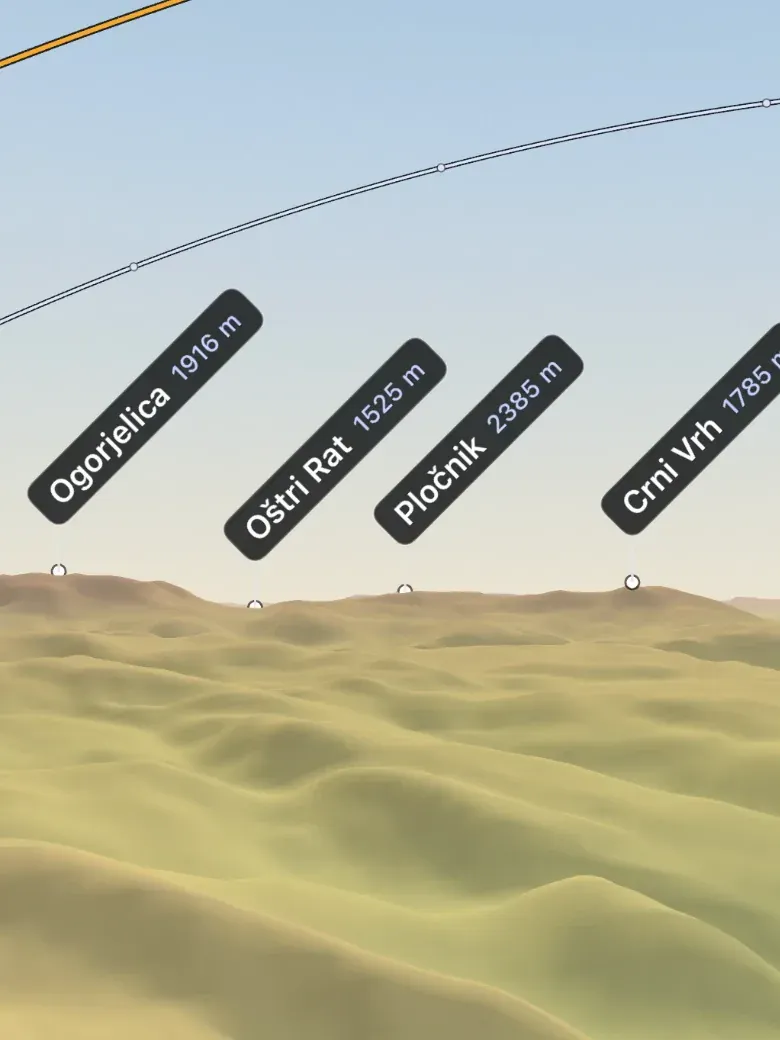
Elevation colours
Height as colour on one fixed scale: green valleys, gold near 1,200 m, orange near 1,800 m and mauve from 2,400 m. The same colour means the same height on every mountain.
-
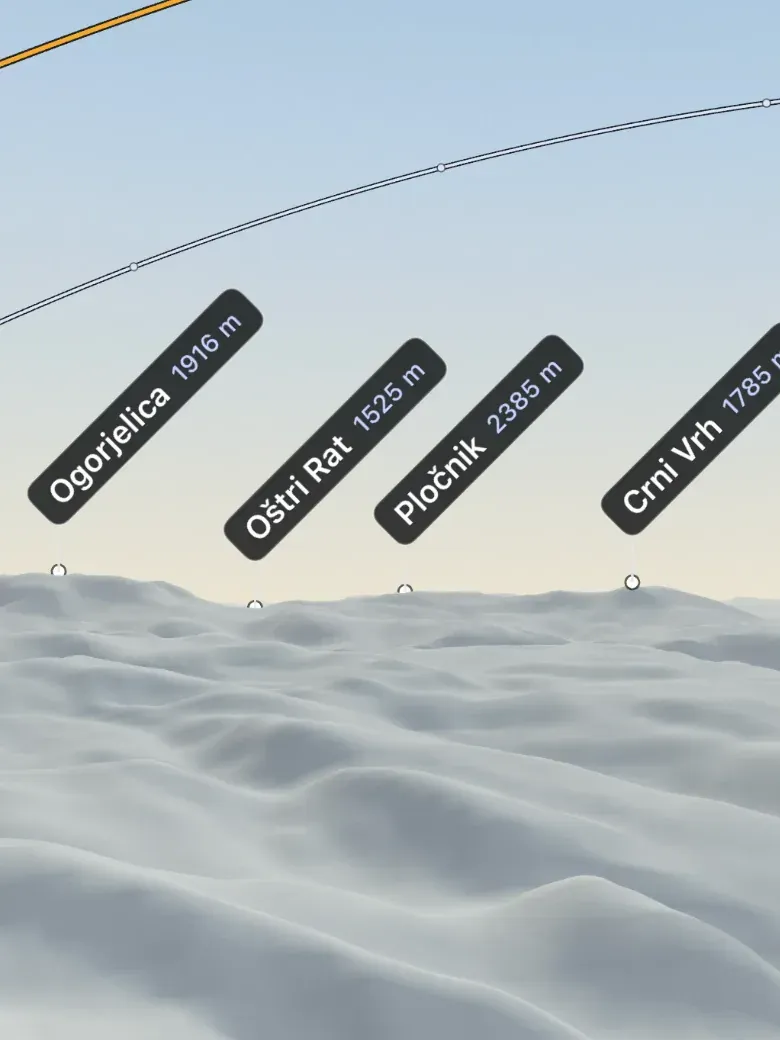
Shaded relief
Swiss-style shading with warm light, cool shadows and no lines at all. Slopes and ridges come from light alone.
- Lenses
- Natural 38°, Wide 55° and Detail 22°.
- Aerial view
- Rise above the summit, drag to orbit and pinch to fly.
- Sun and moon paths
- The sun’s and the moon’s arcs for the day, with their rise and set on the real horizon.
- Far terrain
- When you are online, ridges load out to 100 km.
Offline regionsPro
Ready where the signal ends.
Save a region of 5 to 150 km before you go. Field, the map and peak details then work with no connection, so peak identification carries on offline, and Trig tells you when every layer is ready.
How offline regions work →Settings
Set it up your way.
- Language
- English, Bosnian or German.
- Appearance
- Dark survey for night and the camera overlay, or Paper survey, a light cartographic interface.
- Saved regions
- Add, check and remove offline regions.
- Compass guide
- How to get a better first bearing.
- About
- Accuracy and coverage, data sources, and app information to paste into a support message.